

Though, I don't consider myself a beginner "beginner" when it comes to beauty topics (skincare and makeup), but I don't stop myself from stopping learning more about beauty. Over the years, trend changes, makeup artist, and beauty gurus around the world discovers more useful beauty tips and beauty hacks, it's always great to update yourself on these trends and techniques.
 |  |
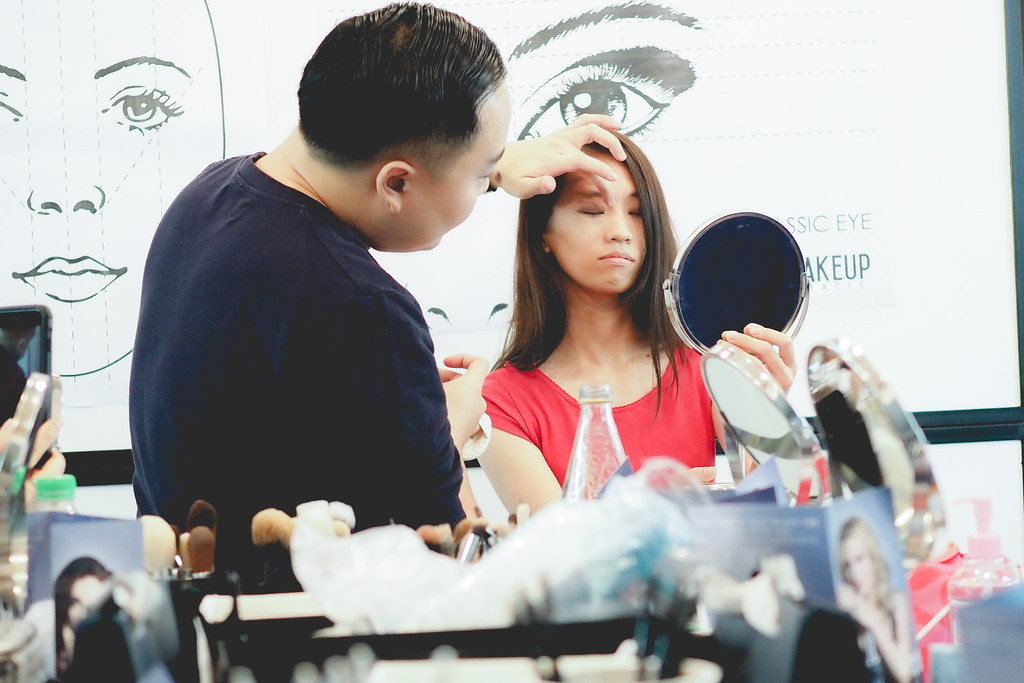
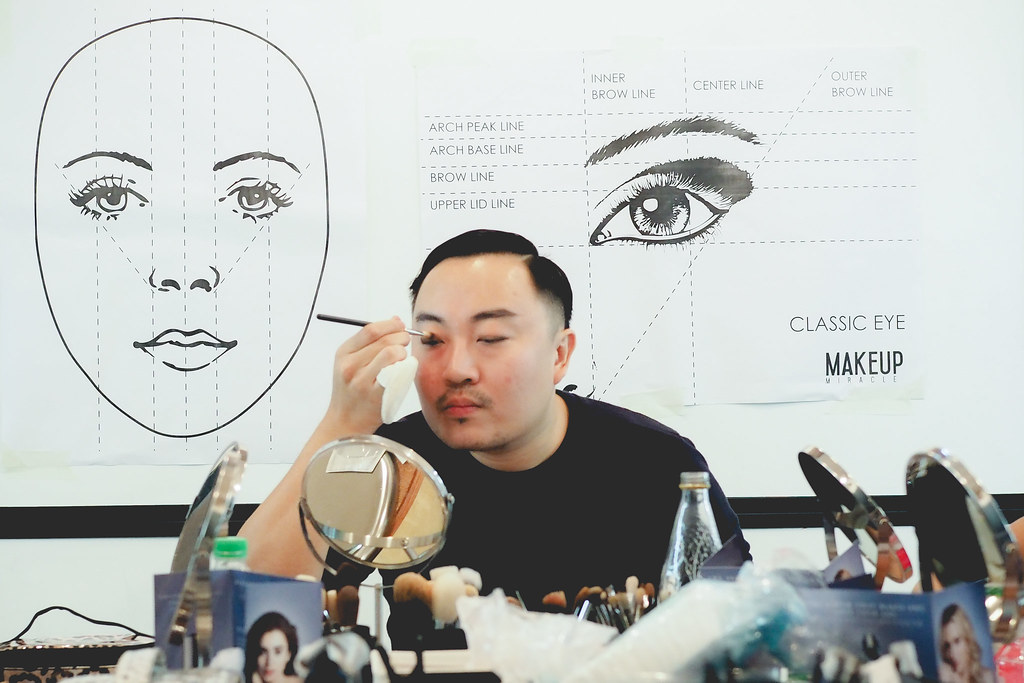
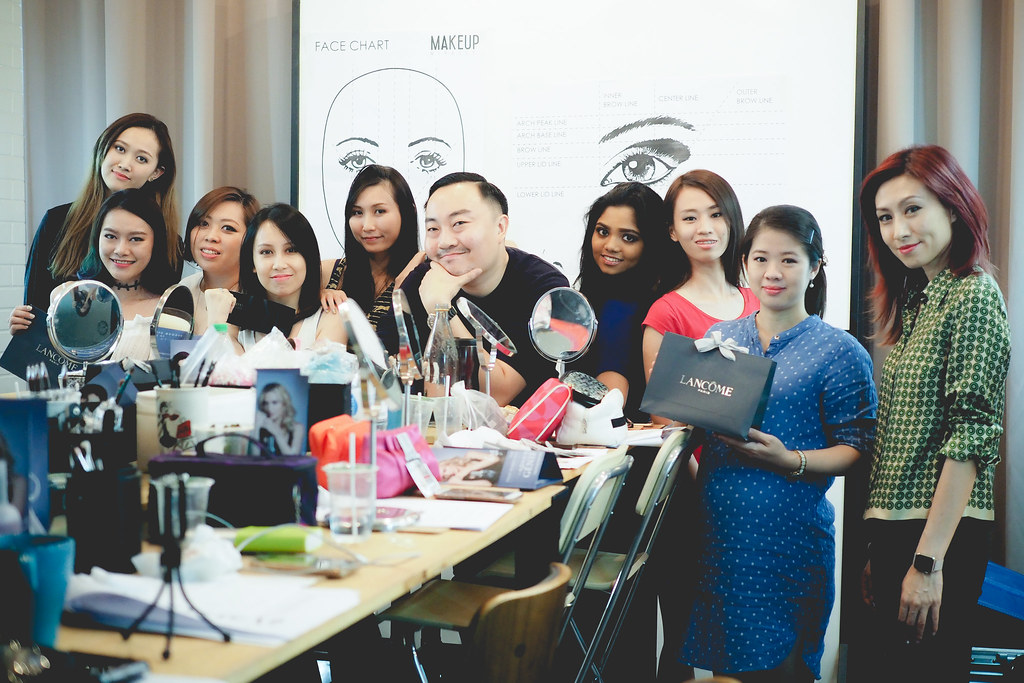
Last weekend, I attended a 1-day thematic makeup workshop by Makeup Miracle x Lancome, with a theme of "I Woke Up Like This" that going to cover the basic skincare knowledge as well as get hands-on with learning different daily quick-glam-up skills and look! Instead of writing a lengthy post about the entire session, I shall list out only the important points that I personally think it's really useful for beauty enthusiasts out there, especially for the beginners.

:: PREP YOUR SKIN ::
A better skin helps your makeup to work more effectively. The concept of less is more - the better your skin condition is, the lesser product needed, hence the more natural the makeup look is. Understanding your skin in and out is a process, trust me, it's absolutely worth it. It's really important to know your skin type, noticing how it changes throughout the day (or even the month and year), and noticing what it likes and doesn't like will make your life a lot easier. Once you know what your skin type, you are able to choose and use the right product to combat your skin problem and improve your skin condition.
For example, oily skin type is often prone to breakouts. It's really nice to be able to hide zits and acne scars with concealer. But do you there's an even better way than covering it up? Getting rid of it completely. The right skincare products can help scars fade faster, even your skin tone, and keep breakouts at bay. All you need to do for basic skincare is as simple as cleansing, toning, serum, and moisturizer.
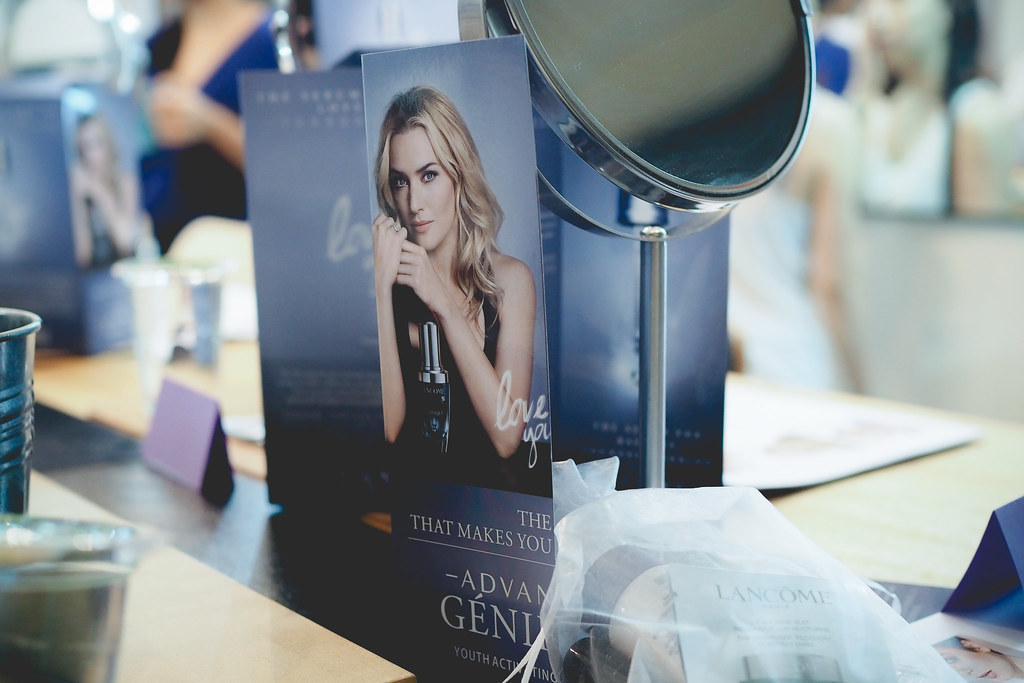
What about for someone like me who is having sensitive, acne-prone skin type yet approaching the age of 30? To look for a serum that has a light texture with anti ageing properties, yet suitable for sensitive skin, is not really that easy. Luckily with the new Lancome Advanced Génifique Youth Serum, it is suitable for ALL skin type. It claims that you are able to see the result as little as seven days. It's a perfect solution for skin dullness and uneven texture, uneven skin tone, fine lines and wrinkles. Most importantly, it is formulated without parabens, sulfates, and phthalates!
:: Sunscreen (SPF) ::
As we grow older, ageing happens. Though we just can't avoid the wrinkles and skin sagging to happen, starting and maintaining certain skincare practices certainly can help to reduce the severity of the fate of our skin. While proper skincare can help to keep your skin cleansed and moisturized to retains its suppleness, applying sunscreen can help to keep your skin looking younger longer. It's important to choose the right sunscreen with the right SPF amount for your skin, choose at least an SPF15-30.
First, you have to know what are your skin type and the corresponding amount of time how long you can stay safely in the sun before burning - fair skin (10 minutes), olive skin (15 minutes) and dark skin (20 minutes). Next, calculate your protection time, the amount of time you can stay outside before burning. All you need to do is just multiply the sun safety time for your skin type with the SPF listed on your sunscreen. eg. For olive skin, 15 minutes x SPF20 = 300 minutes (5 hours) of sun protection. Last but not least, reapplying sunscreen is needed if you're required stay outside under the sun at longer hours.
ps. Lancome UV Expert XL-Shield with SPF50 PA++++ is perfect! Light texture and longer sunscreen coverage.
ps. Lancome UV Expert XL-Shield with SPF50 PA++++ is perfect! Light texture and longer sunscreen coverage.
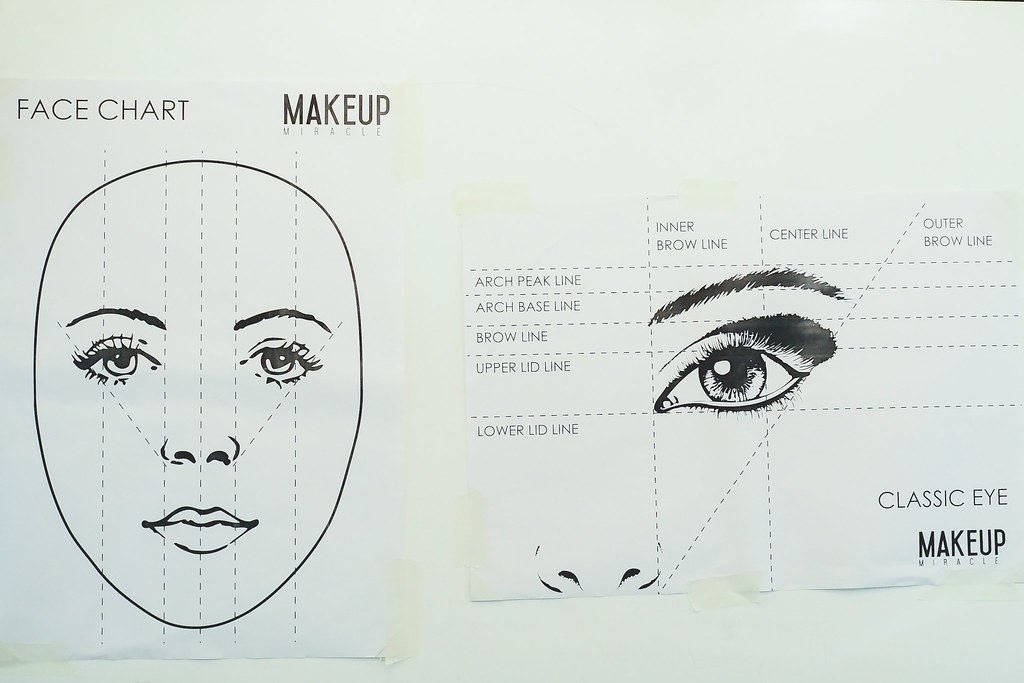
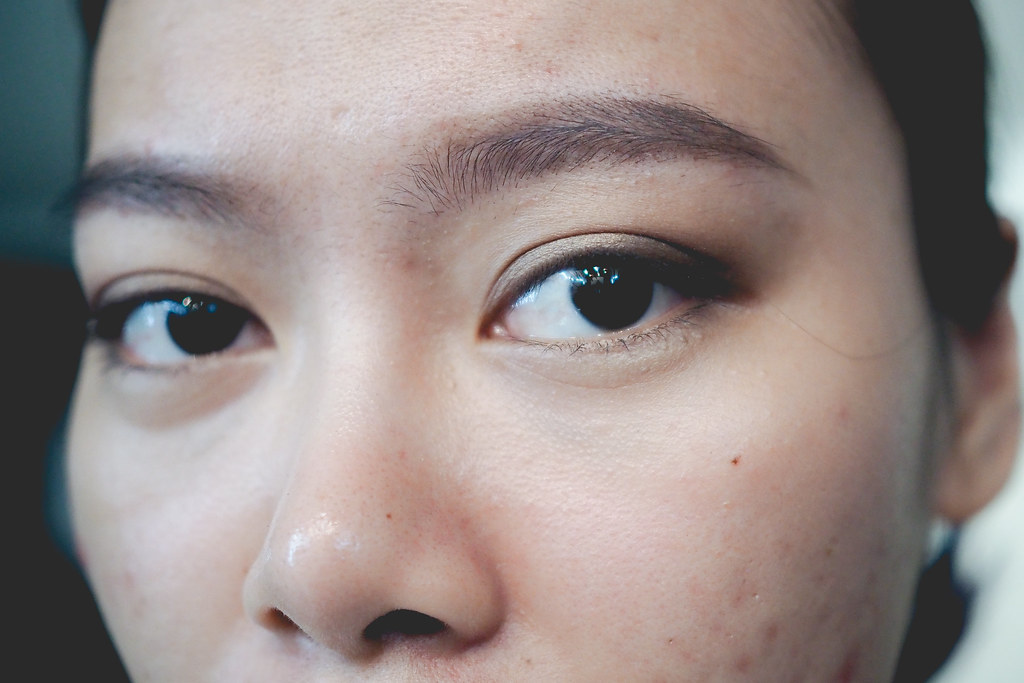
:: MAKEUP - EYEBROWS ::
I personally will not leave the house without drawing my eyebrows. Brow shapes have their personality, it can be square, curved, high arch or simply a natural look that follows the existing curve of the brow. Shaping the brow correctly can make the eyes appear large and open up one's face. The brows play an important role in framing your entire face and look. Eg, if you're doing a smokey eye look, the Korean straight brows trend is not ideal for the look.
ps. before you tweeze, remember that brow does not grow back thicker. Constant tweezing will only cause brow hair to stop growing.
:: MAKEUP - TOOLS ::
While our fingers may be the best way to apply makeup at the certain time, it's really not that ideal and definitely not hygiene for makeup application over the time. Well, unless your hands are sterilized all the time. Moreover, makeup brushes always the ideal method when it comes to blending and precision makeup application to achieve a better result. You definitely won't want a messy panda-eye look for your smokey eye. For me, having at least one blending brush is crucial when it come to makeup.
:: MAKEUP - SIMPLE DAY LOOK ::
Whenever you feel like you don't have enough time to do your makeup, always remember this - there's always a way to simplified the step to achieve an effortless a simple day makeup look. With just one tone eyeshadow and blending brush - dip the brush into the shadow and dust it on the entire lid, from lash line to slightly above the crease. Apply your mascara and favourite lip color, you're done with the makeup look!
ps. if using a bold color (eg. deep purple), apply it more heavily around the lash line and blend it well, making sure it fades naturally at the crease.
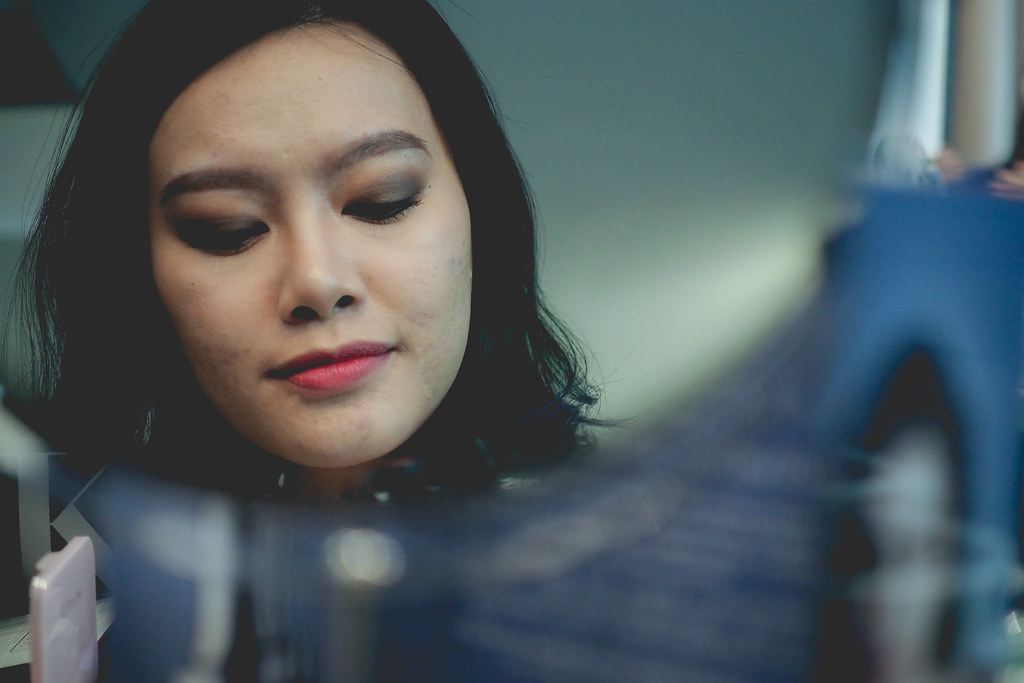 |  |
:: MAKEUP - SMOKEY EYE LOOK ::
Do you know there're two simple ways to do the smokey eye look? Yes, you can choose to do two tones eyeshadow application or three tones eyeshadow to achieve a smokey eye makeup look. However, always remember that blending is a key in achieving the perfect smokey eye look.
Two-tones (half moon) eyeshadow application
> Apply a neutral eyeshadow across the entire lid area, from inner tear duct to outer corner, where your eyelashes end.
> Next, apply a darker shadow right at the outer corner of your eyelid near your lash line. Move the brush back and forth across your crease in a windshield wiper motion.
> Blend the colors together and get rid of any harsh lines. Start at the outer corner and blend back and forth using small circular motions and the same windshield wiper motion that you did to apply the color.
Three tones eyeshadow application
> Apply the lighter color to the base of the lashes and blend all the way up to the brow.
> Next, use a crease blending brush to apply the second shade in the crease, blending up and out toward the outer corner of the eye along the edge of where the brow bone begins.
> Use a crease defining brush to apply the third shade to the upper lash line area.
> Make sure none of the darkest shade is actually on the eyelid or to the back corner of the eye, where some of the colors are blended down onto the outer third of the eyelid and also into the crease.
> When applying color in the eye's crease, be sure to blend out and slightly up rather than following the downward curve of the eye.
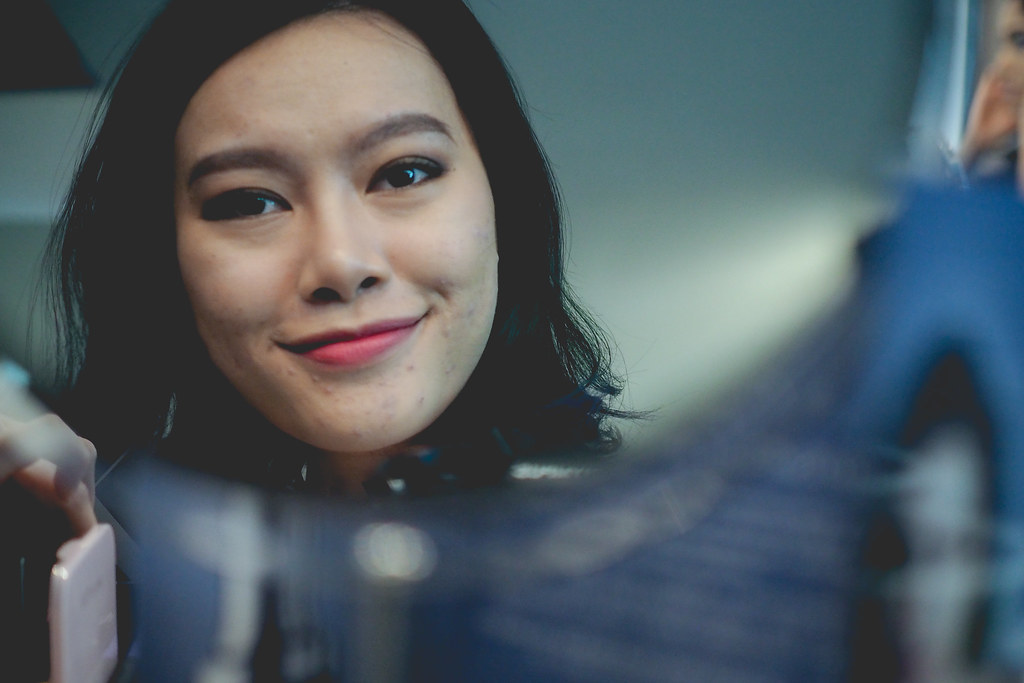
Well, I must say that was a real fun makeup workshop to attend, Kenny from Makeup Miracle also shared plenty of useful makeup tips with us. One of the many makeup tips shared on that day - using eyelash glue to create double eyelid is definitely going to give a much natural finish compare to double eyelid tape.
Beauty enthusiasts or people who wish to learn more about makeup feel free to check out Makeup Miracle on Facebook and Instagram.
Facebook: Makeup Miracle Workshop & Academy | Instagram: @makeup_miracle
Facebook: Makeup Miracle Workshop & Academy | Instagram: @makeup_miracle
No comments: